Welcome to my first "Product focus" please bear with me I hope I do not waffle too much. In this first one we are looking at the SolarGo2 Wall Light WL007
They say great things come in small packages; well they were not wrong! Not only is this the smallest product in the SolarGo2 range it’s also the cheapest! This great little light really packs a big punch.
With its amazing 1000 Lumens output and 3 working modes, this light is not to be taken lightly. Not only is this light a good performer it’s even got the ASL2.1 and TCS technology built in, but more on that later.
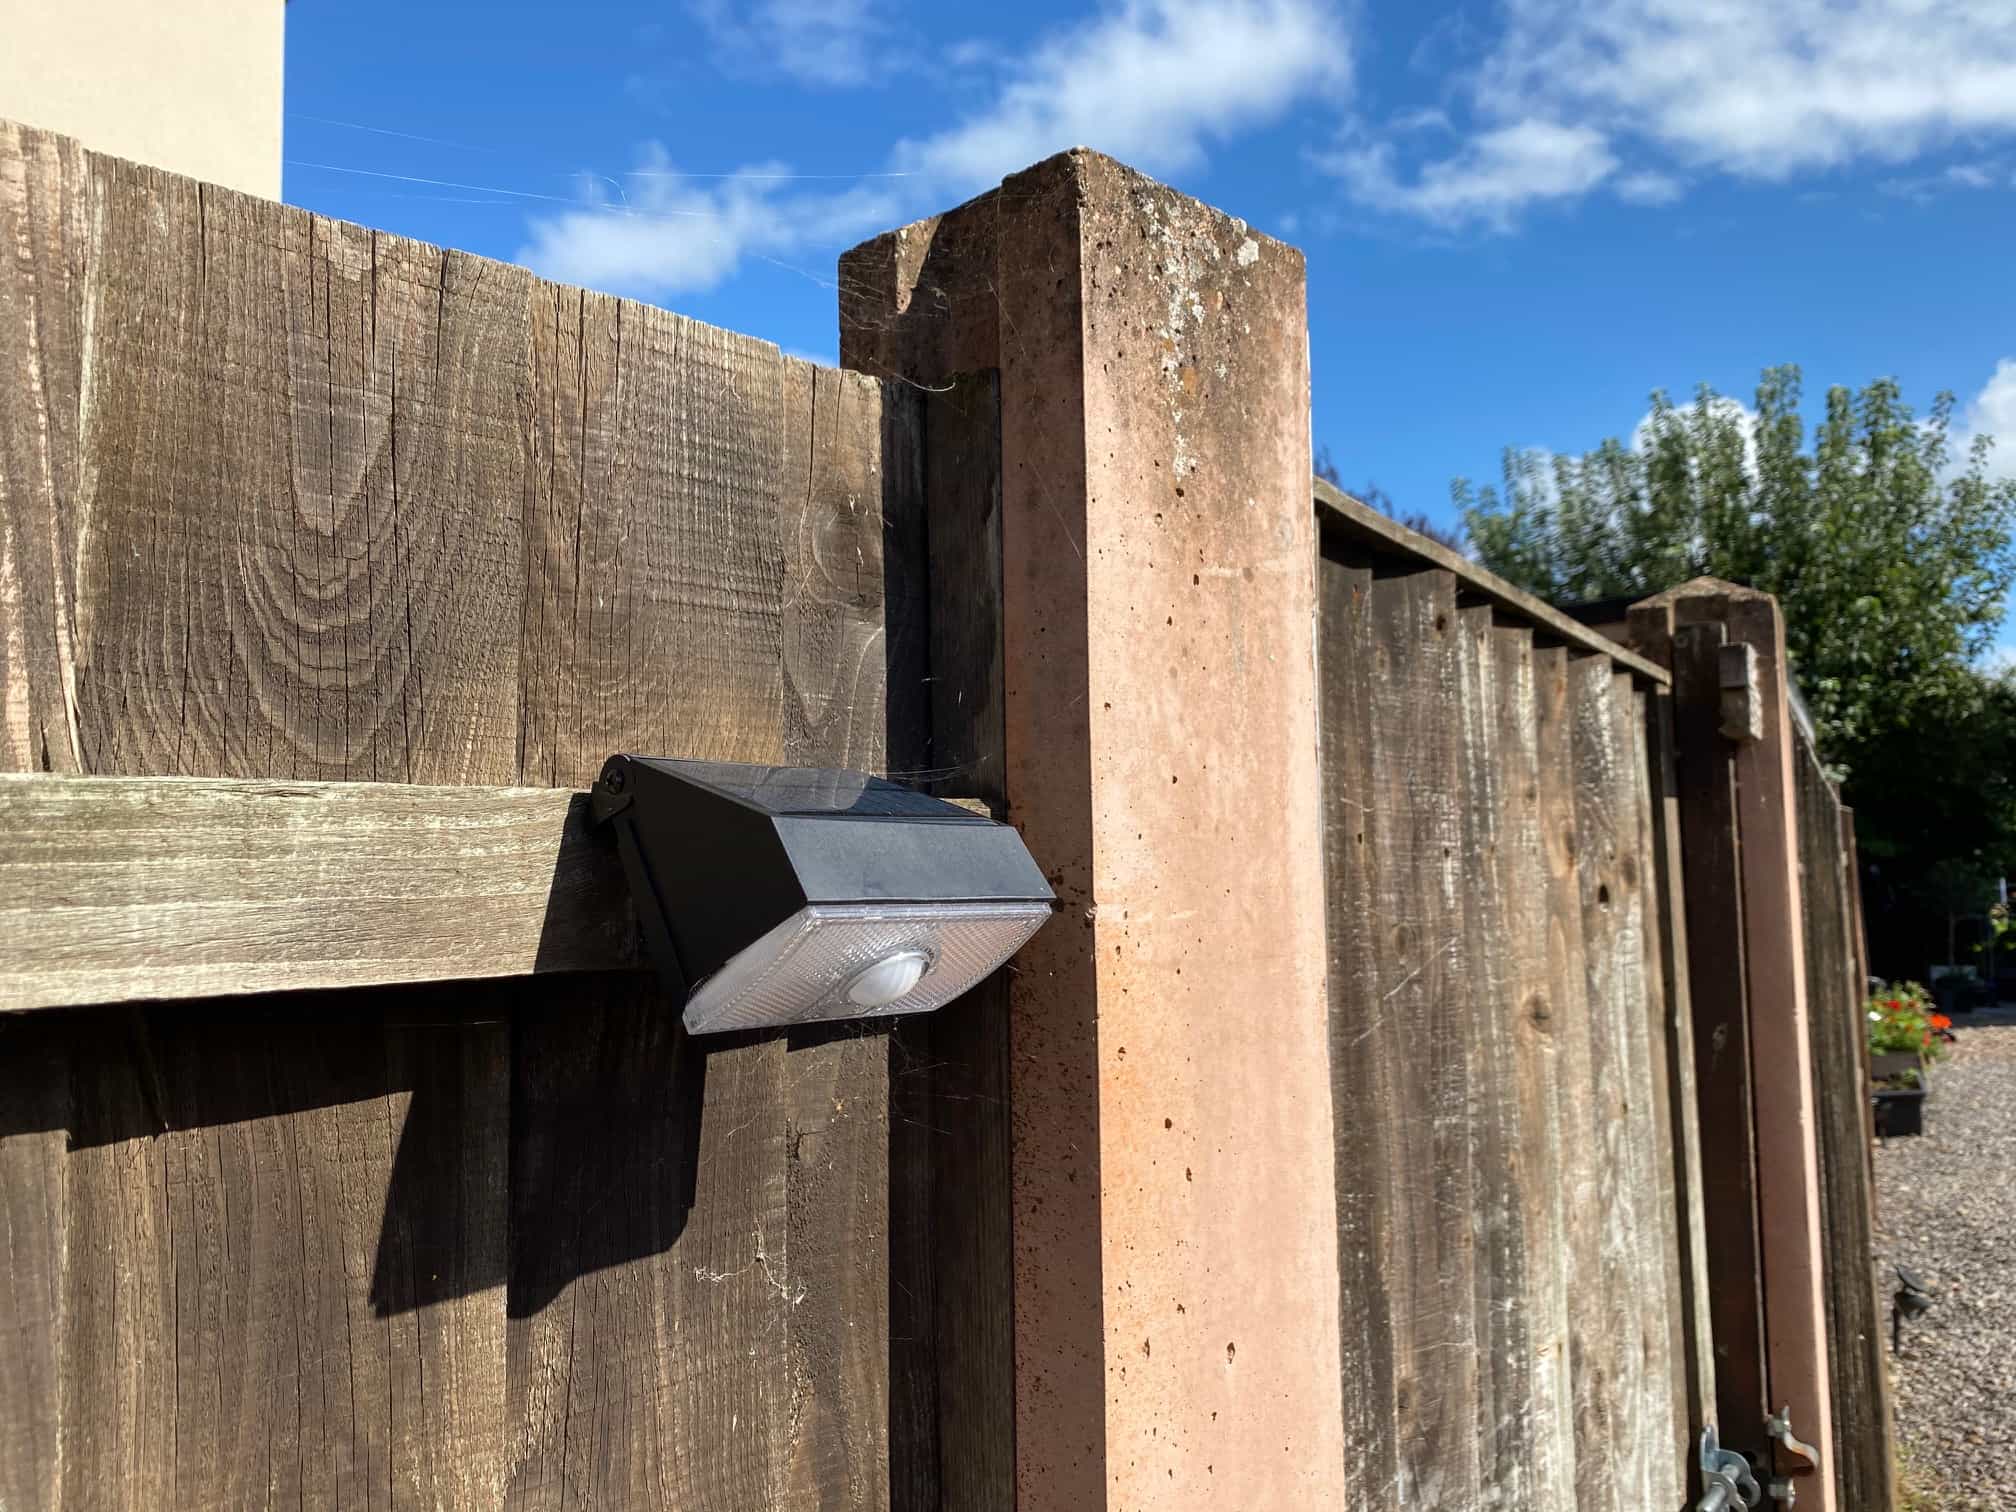
So, let us look a little closer at this light. Once unpacked you will find the light has a nice solid feel with a metal wall bracket and the PIR sensor built into the main lens of the light. The metal bracket is already loosely installed onto the light and there is a pair of wall plugs with matching screws included in the box.
Before I install the light let’s start it up. A long press of the power button (around 2 seconds) fires this light into action, instantly shining a bright light into your eyes. Presuming it is daytime this light quickly goes out ready for the sun to go down before it sparks back into life.
So let’s get this light installed
I am installing this light on to the fence panel next to my back gate, it seems this has now become the main entrance for visitors to our house since lockdown.
However, I am sure there are many different applications for this light like above a doorway, walkways, paths leading to the shed etc. The height of the fence panel seems a little low at 6 foot, but I simply screw the bracket directly to the panel with the screws provided making sure the solar panel is facing towards the sunshine.
At this height it will also make it easy for me to change the mode the light’s working in if I need too. I then tighten up the two screws holding the bracket to the light whilst setting the angle I want the light to work at.
That is it! I have installed the SolarGo2 Wall Light WL007.

While waiting for the sun to go down it is time to have a little play with the light and see what each of the three light settings do. A quick press of the power button just under the PIR on the lens of the light lets me choose the "mode" I want to use.
It is great to see that the power button lights up and flashes to let me know the mode I’m setting i.e. 1 flash for mode 1 2 flashes for mode 2 etc.
I select mode 2 as this seems to give me the function I want for this time of year (summer 2020).
The modes you have available to choose from are:
Mode 1: This option gives you a PIR security light that is off until the PIR picks up some movement, it then gives you the full 1000 lumens output for 10 seconds before turning off again ideal for winter running.
Mode 2: This setting gives you a PIR security light that is giving around 40 lumens of light until the PIR picks up some movement. It then gives you the full 1000 lumens output for 10 seconds before turning back to the 20 lumens output ideal for summer running.
Mode 3: This setting gives you a simple 20 lumens light that stays on all night with NO PIR function. This is ideal if you just need to keep an area dimly lit all night long, but performance in the winter might be limited in this mode.
As the sun sets

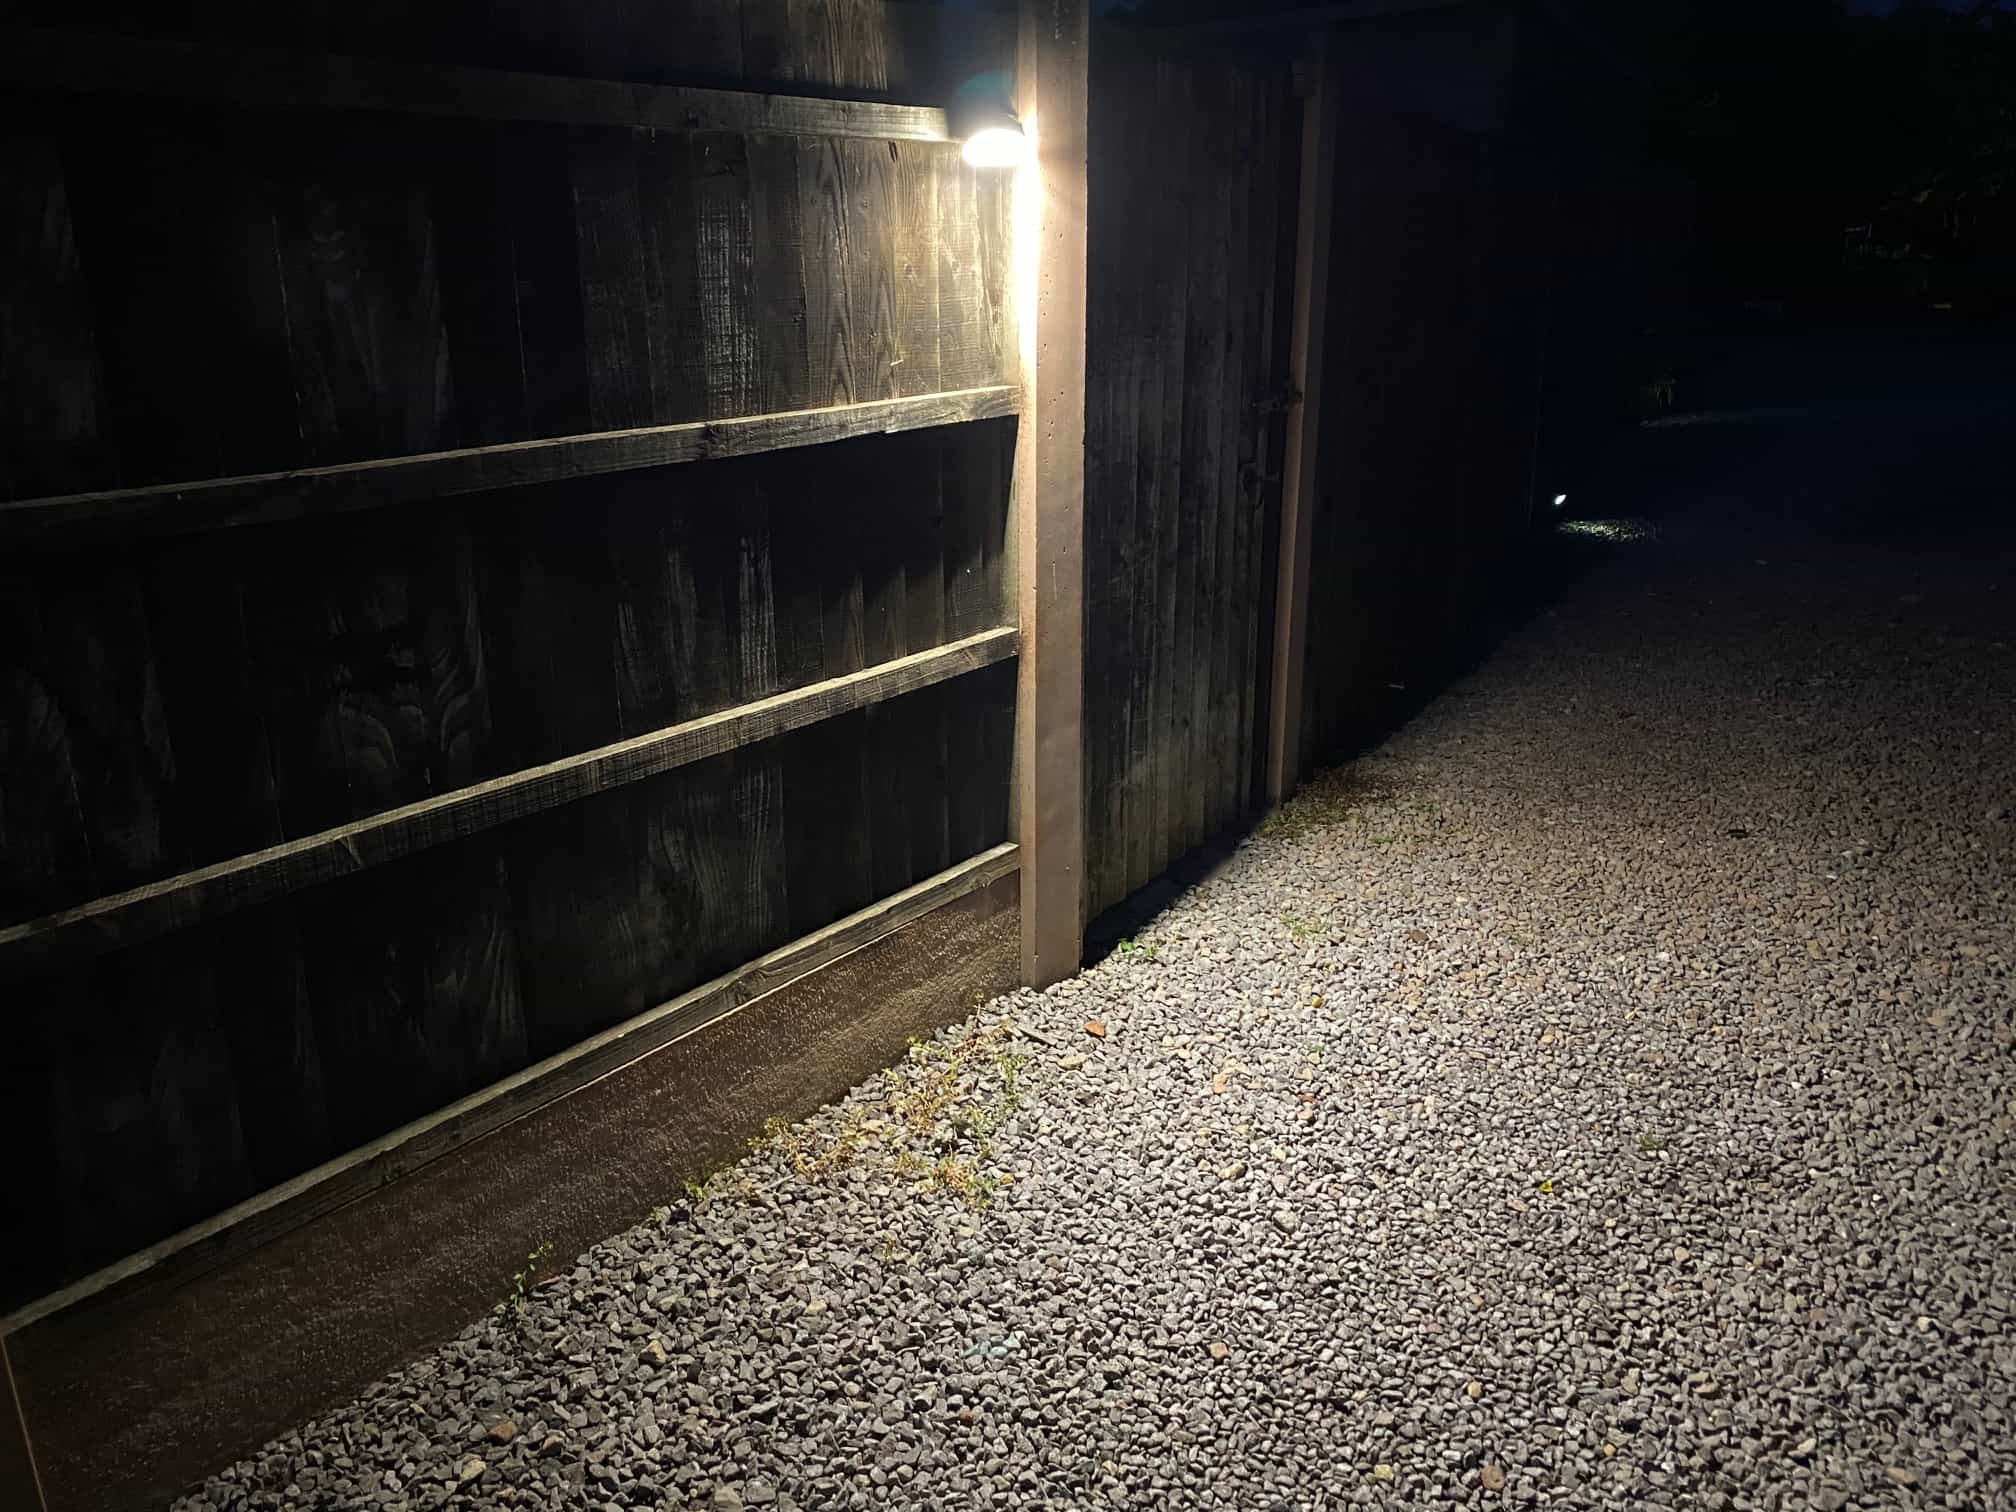
At last the sun’s gone down and the small SolarGo2 Wall Light WL007 has fired up and is lighting the pathway towards the back gate. It is a clear white light that is spreading across the path lighting up an area of around 2m x 2m, not enough to read a book by but enough to see where I am going.
Walking towards the back gate the light senses my movement from the inbuilt PIR and suddenly I am bathed in a strong white 1000 lumens light, lighting up the whole area leading to the gate. I continue to the gate and close the gate behind me; seconds later the light has dimmed back to the low light level it was before it sensed me approaching.
The lights inbuilt sensor only lets the bright 1000 lumens light burn for 10 seconds or until it stops sensing movement. By doing this, it is saving power in the internal battery giving me a longer working time during spells of bad weather where the sunshine has been blocked by thick clouds for days on end.
The extra technology in a SolarGo2 light
Earlier I mentioned that this blinding little light has the ASL2.1 technology and the TCS technology built in. This is basically clever energy management hardware and software that is built into most of the SolarGo2 lighting range.
The ASL2.1 technology lets the light dim slightly when it detects the battery is getting low on power. This then gives you extra days or even weeks working time even when the weather conditions are working against a solar powered system.
The TCS technology is all about protecting the inbuilt battery from the high and low extremes in temperature which in turn extends the life of the battery. Both technologies help keep the light working for as long as possible during the winter months in the UK.
Well that is it, the SolarGo2 Wall Light WL007. Please feel free to browse our complete product range at www.solargo2.com and get in touch if you need any help.
UPDATE: Friday, 6th November, 2020
Wow this light really is great! It’s been a fantastic light next to the back gate for us. It has had so many positive responses since I installed it back in August.
People still can’t get over the 1000 Lumens output of this compact light. It seems a few of my customers have taken to installing this light over their shed doors so they can see without holding a torch while they unlock their sheds.
However, now the longer nights are here, I have changed the mode that the light is working in to mode 1. This means the light isn’t in its low light output all night and will save all the solar energy collected during the day and only use it when it detects movement at night.
